Skip to content

The Hobby Components blog is dedicated to providing you with helpful tutorials, projects, and news.

  • Shop with Us
  • Tutorials
  • Product Sketches
  • New Products
  • News
  • Product Guides
  • Projects
POSTS
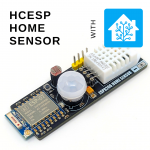
  • HCESP Home Sensor

    Using HCESP Home Sensor with Home Assistant

    1 year ago1 year ago
  • Using HC-ESP Presence Detector with Home Assistant

    1 year ago1 year ago
  • Simon Says… Wanna Play a [Arduino] Game!

    1 year ago1 year ago
  • mLink Explained - DHT22 - BLOG IMAGE

    mLink Explained – DHT22 Temperature & Humidity Sensor

    1 year ago1 year ago
  • Create Your Own Temperature Controller with mLink – Part Two

    1 year ago1 year ago
  • Create Your Own Temperature Controller with mLink – Part One

    1 year ago1 year ago
  • Home
  • Projects

Projects

Lots of useful hardware and software projects suitable for beginners all the way up to the experienced user.

  • Hardware - Beginner
  • Projects
  • Youtube Video

Simon Says… Wanna Play a [Arduino] Game!

Anita1 year ago1 year ago08 mins

Hello everyone. This time we’re going to be making the Simon Says game from our popular Arduino Starter Kit. If you have the kit, you can follow along with the video, if not, we sell all the bits as a bundle here. As well as the bundle above, I’m using the Arduino compatible Hobby Components…

Read More
  • Projects
  • Tutorials
  • Youtube Video

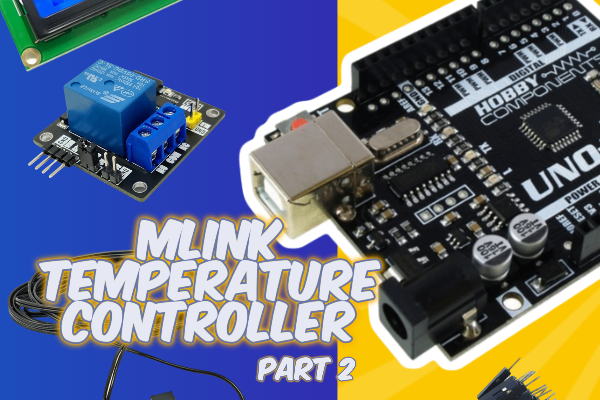
Create Your Own Temperature Controller with mLink – Part Two

Anita1 year ago1 year ago07 mins

In this second part we’ll be adding an LCD screen to display the current temperature and relay state so that we can monitor the controller we created in the last video without it being connected to a computer. If you’ve not already followed part one check out the blog post and video here. Once set…

Read More
  • Projects
  • Tutorials
  • Youtube Video

Create Your Own Temperature Controller with mLink – Part One

Anita1 year ago1 year ago07 mins

In this project we’ll show you how to create your very own temperature controller using an Arduino board and some mLink I2C modules. We’ll break this project into two parts with the second part being optional depending on how complex you’d like your controller to be. In the first part we’ll use a mLink NTC…

Read More
  • Customer Contributions
  • Software - Intermediate
  • Tutorials

Model Railway Series – 6 – Station Departures Board

Chris Sharp3 years ago3 years ago229 mins

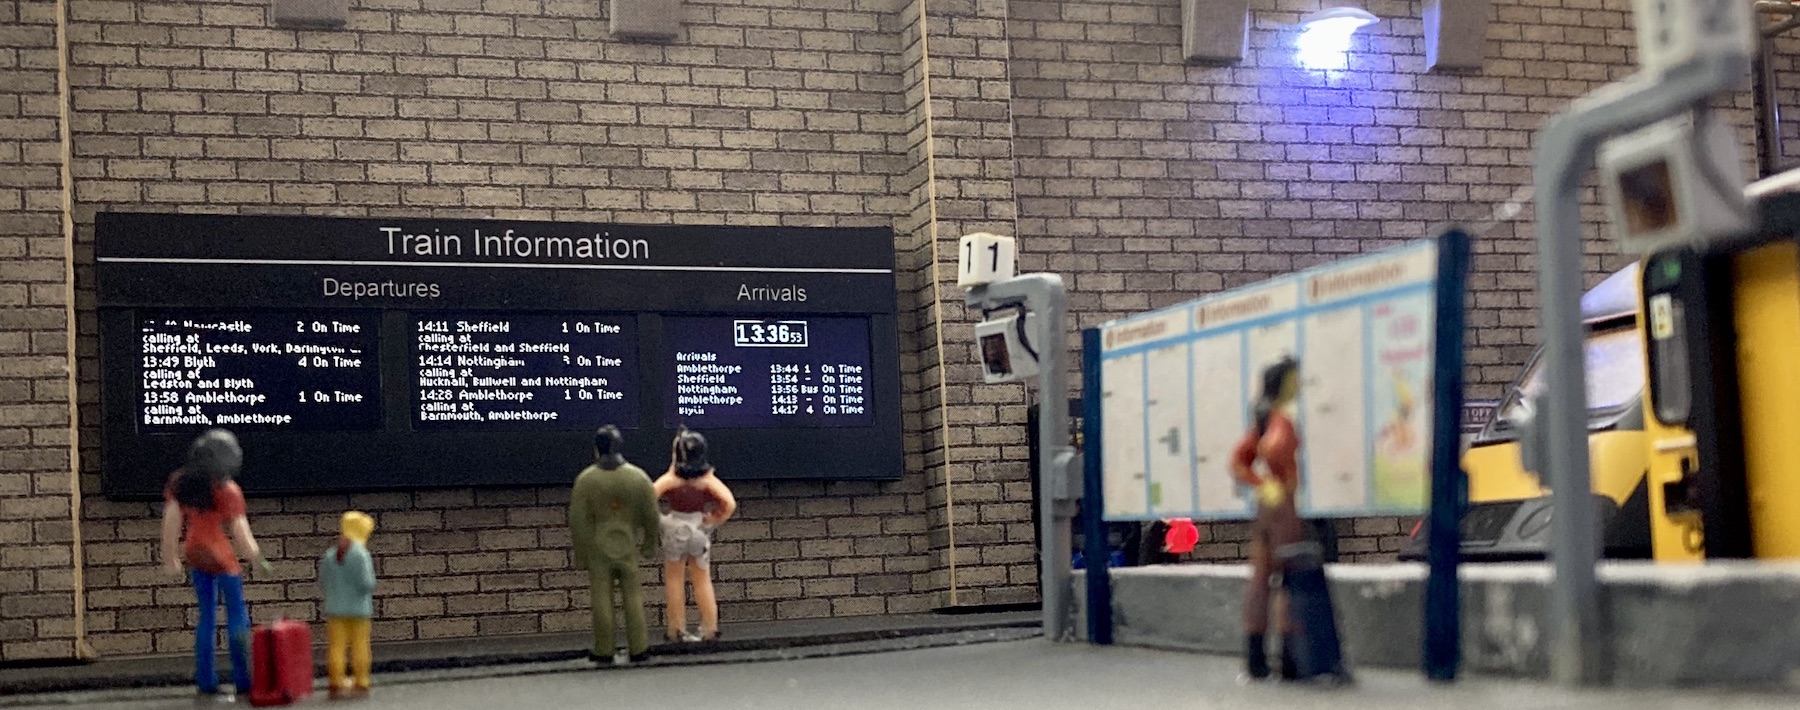
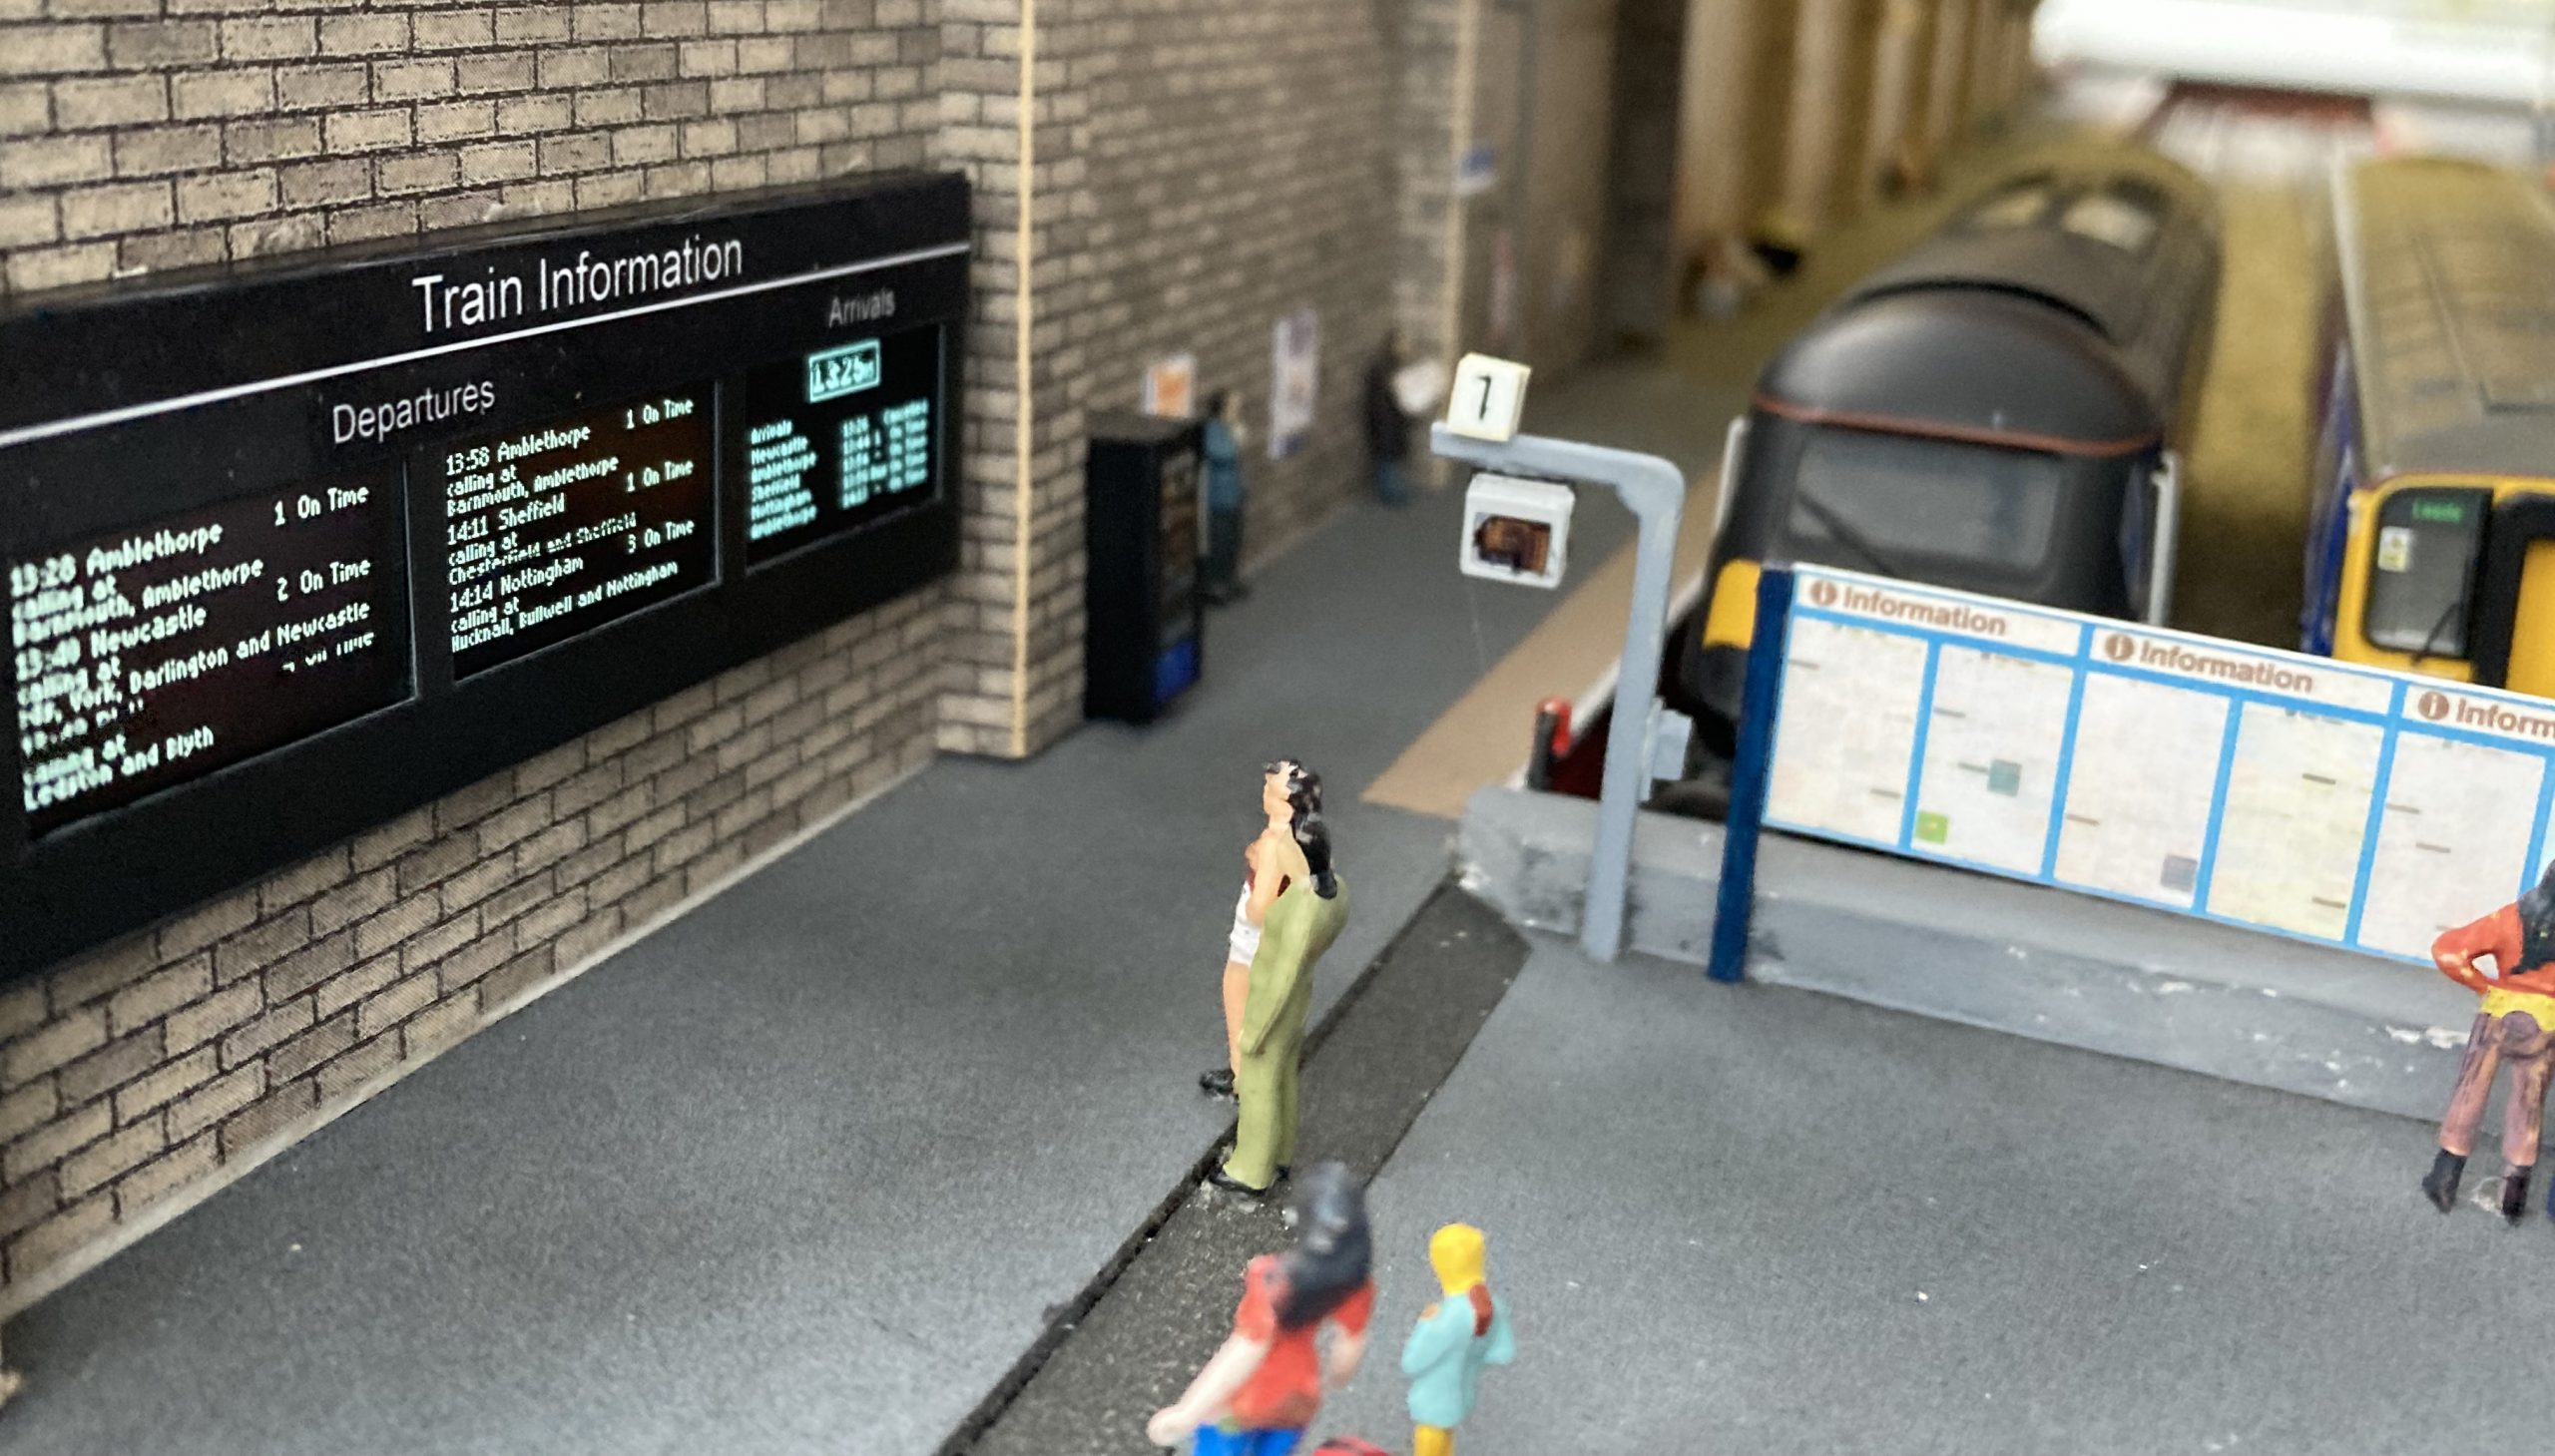
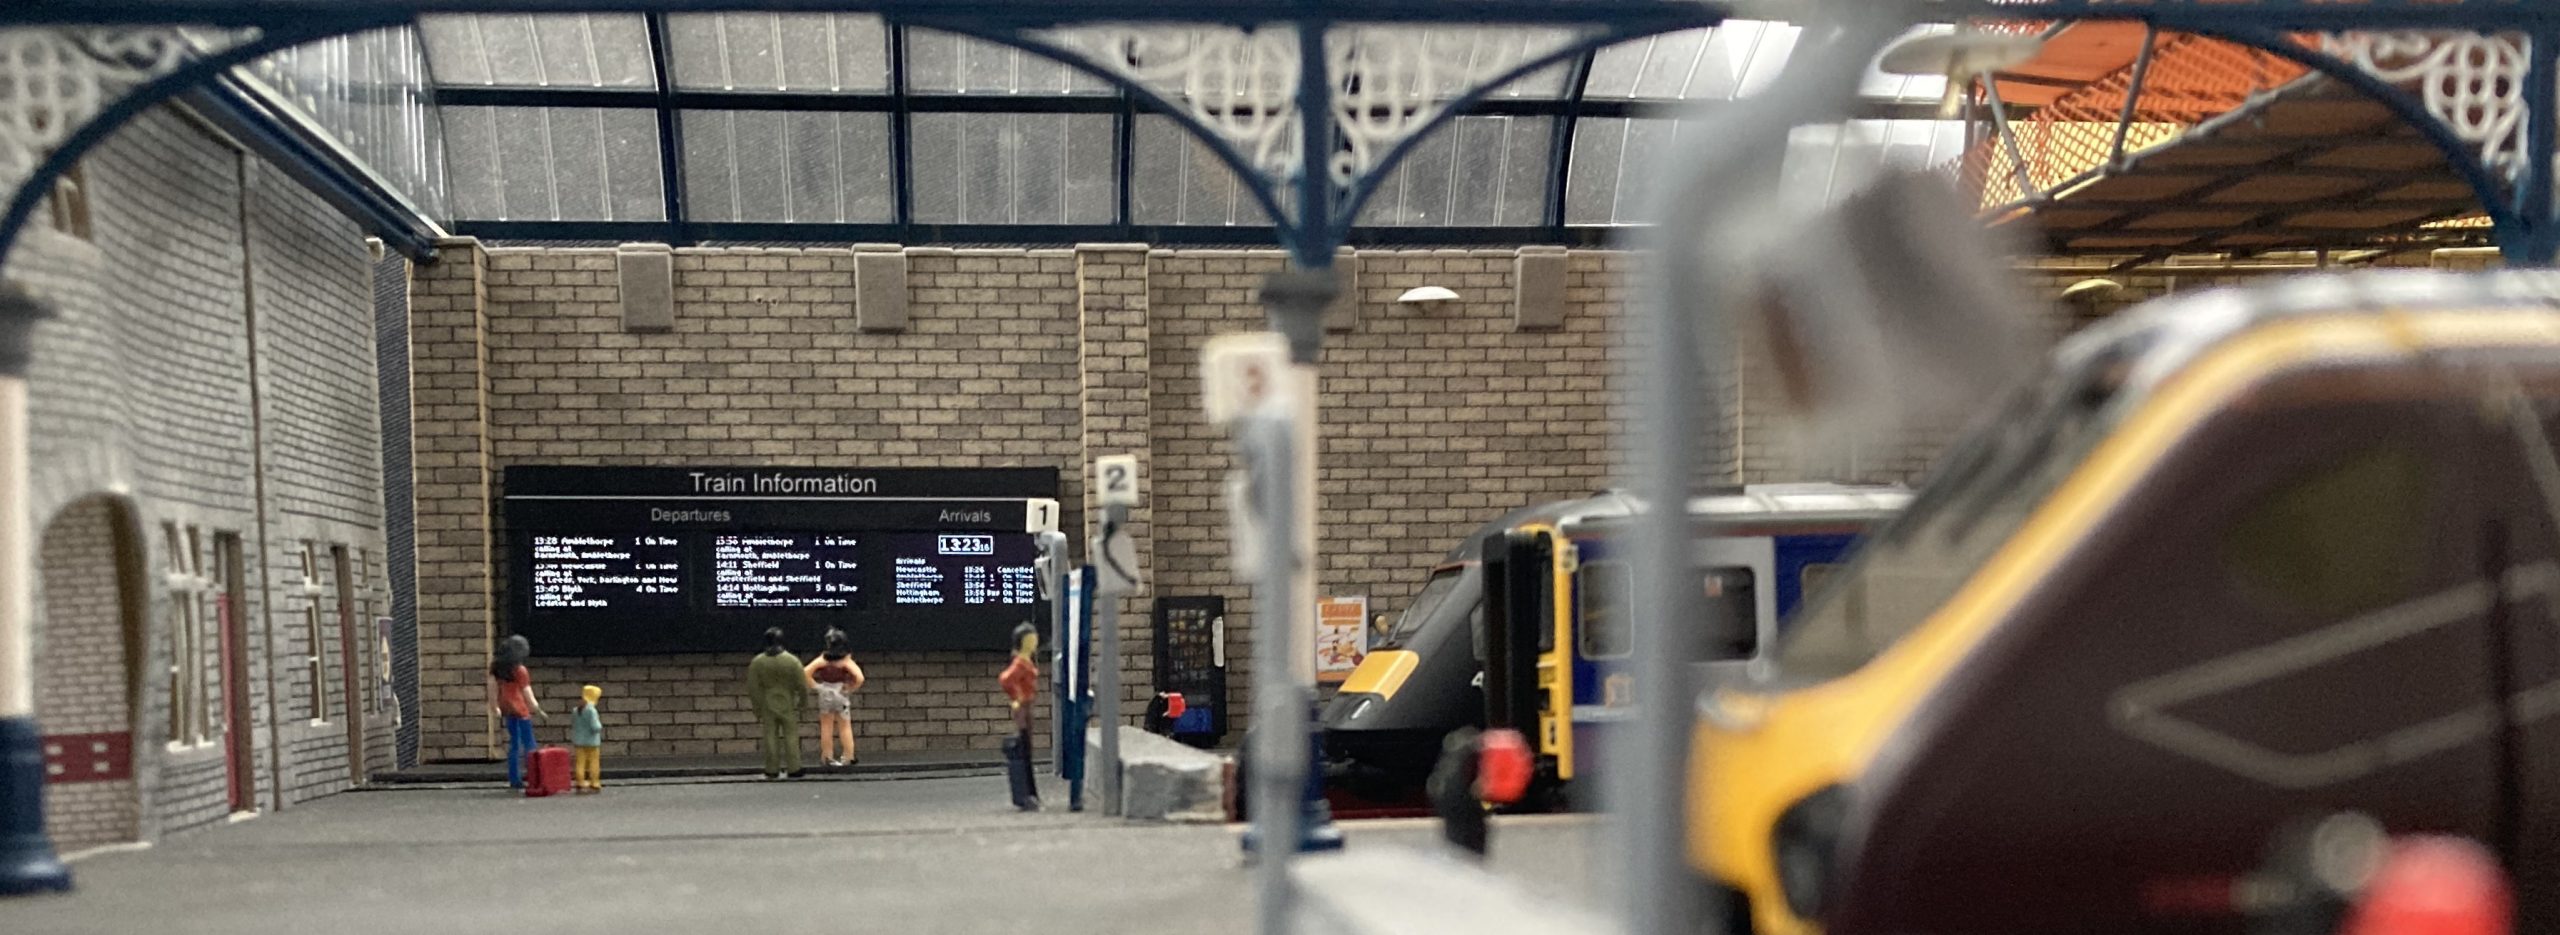
In this final part of the series we will use three SSD1306 128×64 pixel OLED display modules to create the kind of display you’d find on the concourse of a mid-sized railway station. Two screens will detail departures, the third will feature a clock and train arrivals. By pulling together the code from this series,…

Read More
  • Customer Contributions
  • Software - Intermediate
  • Tutorials

Model Railway Series – 5 – Detailed Departures

Chris Sharp3 years ago3 years ago016 mins

In this series, we are building a main passenger information display for a model railway using a SSD1306 128×64 pixel OLED display module, driven by a nano. So far we have covered how to create a departures board, a combined clock and an arrivals board. In this latest post we will revisit our departures board…

Read More
  • Customer Contributions
  • Software - Intermediate
  • Tutorials

Model Railway Series – 4 – Arrivals

Chris Sharp3 years ago3 years ago023 mins

We continue our series looking at how to use a SSD1306 128×64 pixel OLED display module on a model railway. In this part we will be making an Arrivals board. The information we need for arrivals is very similar to that for our departures board. We will be adapting the departures code to create the…

Read More
  • Customer Contributions
  • Software - Intermediate
  • Tutorials

Model Railway Series – 3 – Dynamic Departures

Chris Sharp3 years ago3 years ago020 mins

This series is looking at how to use a SSD1306 128×64 pixel OLED display module as a passenger information display on a model railway. The first in the series created a train departures display. The second a clock to keep time. We are going to combine these two to create a dynamic departures board that…

Read More
  • Customer Contributions
  • Software - Intermediate
  • Tutorials

Model Railway Series – 2 – Clock

Chris Sharp3 years ago3 years ago011 mins

This series looks at how to use a SSD1306 128×64 pixel OLED display module as a passenger information display on a model railway. The first post in the series created a train departures display. We now move on to creating and displaying a clock. It is possible to fit a real time clock module to…

Read More
  • Customer Contributions
  • Projects
  • Software - Intermediate
  • Tutorials

Model Railway Series – 1 – Passenger Information Display

Chris Sharp3 years ago3 years ago217 mins

This is the first post in a series looking at how to use a SSD1306 128×64 Pixel OLED Display Module as a passenger information display on a model railway. The screens on these modules are 22mm by 11mm. This makes them a scale size of 1.6m wide by 0.8m high at OO scale. So they…

Read More
  • Software - Beginner
  • Tutorials

Windows 10 Arduino Environment Install Guide

Anita5 years ago06 mins

Back in 2015 we wrote an install guide for the Arduino IDE, as there are no current plans for new versions of Windows to be released, we decided now would be a good time to update that guide. The first step is to download a copy of the Arduino development environment. This can be downloaded…

Read More
  • 1
  • 2
  • 3

Categories

  • Customer Contributions
  • Hardware – Beginner
  • Hardware – Intermediate
  • Informational Posts
  • New Products
  • News
  • Product Guides
  • Product Sketches
  • Projects
  • Software – Beginner
  • Software – Intermediate
  • Tutorials
  • Youtube Video

Recent Posts

  • Using HCESP Home Sensor with Home Assistant
  • Using HC-ESP Presence Detector with Home Assistant
  • Simon Says… Wanna Play a [Arduino] Game!
  • mLink Explained – DHT22 Temperature & Humidity Sensor
  • Create Your Own Temperature Controller with mLink – Part Two

Recent Comments

  • Lukas Cettl on Model Railway Series – 6 – Station Departures Board
  • David on Model Railway Series – 6 – Station Departures Board
  • Viv Dold on PIC: Great Cow Basic Development Environment Quick Start Guide
  • Andrew on Build your own 4x4x4 LED Cube
  • sean on Build your own 4x4x4 LED Cube

Archives

Meta

  • Register
  • Log in
  • Entries feed
  • Comments feed
  • WordPress.org

Seen Something you like?

Check out our online shop where you can purchase items listed in posts on this blog. https://hobbycomponents.com

Categories

  • Customer Contributions
  • Hardware – Beginner
  • Hardware – Intermediate
  • Informational Posts
  • New Products
  • News
  • Product Guides
  • Product Sketches
  • Projects
  • Software – Beginner
  • Software – Intermediate
  • Tutorials
  • Youtube Video

Recent Comments

  • Lukas Cettl on Model Railway Series – 6 – Station Departures Board
  • David on Model Railway Series – 6 – Station Departures Board
  • Viv Dold on PIC: Great Cow Basic Development Environment Quick Start Guide
  • Andrew on Build your own 4x4x4 LED Cube
  • sean on Build your own 4x4x4 LED Cube
  • Andrew on Build your own 4x4x4 LED Cube
  • sean on Build your own 4x4x4 LED Cube
  • Steve Riley Retired on Model Railway Series – 1 – Passenger Information Display
  • Antony J Quinlan on Model Railway Series – 1 – Passenger Information Display
  • Golfman on Using Black Pill STM32F401 & STM32F411 with the Arduino IDE!

Archives

  • May 2024
  • April 2024
  • March 2024
  • February 2024
  • January 2024
  • November 2023
  • September 2023
  • May 2023
  • April 2023
  • December 2022
  • March 2022
  • February 2022
  • July 2020
  • March 2020
  • June 2019
  • March 2018
  • January 2018
  • October 2017
  • August 2017
  • May 2017
  • April 2017
  • July 2016
  • February 2016
  • December 2015
  • July 2015
  • June 2015
  • April 2015
  • March 2015
  • February 2015
  • January 2015

Meta

  • Register
  • Log in
  • Entries feed
  • Comments feed
  • WordPress.org
Hobby Components Ltd 2012 - 2025. Powered By BlazeThemes.
Cleantalk Pixel