


Installed the Arduino software and ready to test the blink application?
So, in our previous tutorial we installed the software, and ascertained that the COM port was set correctly. The next step is to check that the software is talking to your new Uno. In order to do this we are going to test the standard blink application using the newly installed Arduino software.
Open up the Arduino software on your computer. Once this loads and the COM port is set, we need to tell the software what we want it to send to our Uno. Click “File†and scroll down to “Examplesâ€. This opens a second list. Scroll to “Basicsâ€, which opens a third list. Locate “Blink†and left click.
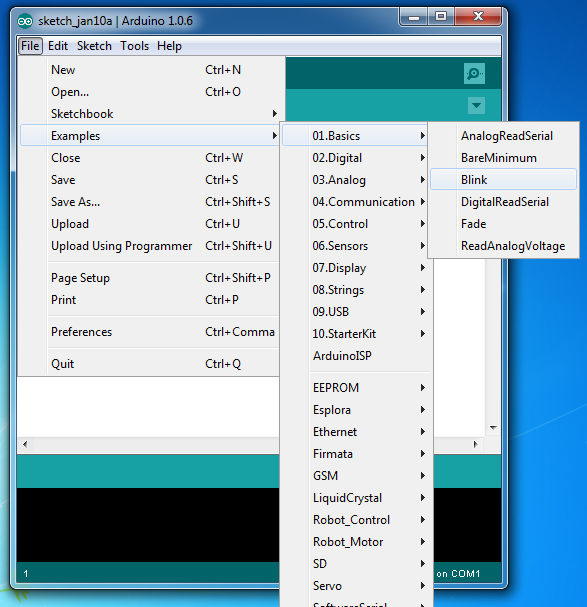
The following window will open:
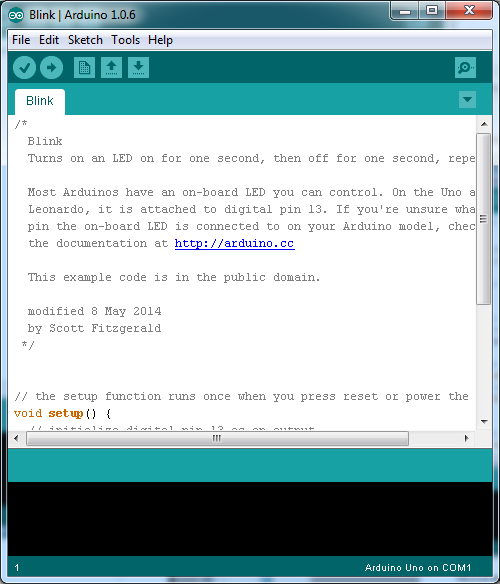
This is an example sketch which is included with the Arduino environment. You are about to program this sketch into your Uno. To do so, you will need to click the right facing arrow on the top left of the window (this is circled in red in the image below).
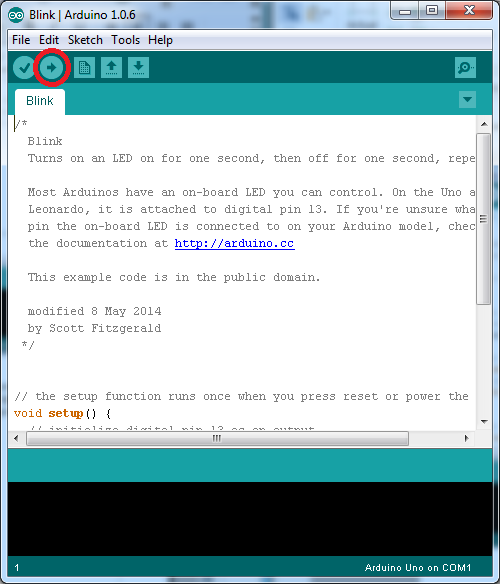
Once you click this, the software will then attempt to talk to your Uno. If successful, the Uno’s LED’s will flash, until settling down, when only one LED will begin blinking at a rate of once per second. Congratulations! Not only have you installed the Arduino software, you’ve also uploaded your very first sketch to the Uno! This means that everything s working and the software is now talking to your new Uno.
Not sure what to do next? Try our Illuminating and Controlling LEDs tutorial.


One thought on “Arduino: Testing the Blink Application”