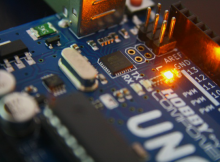
Tutorial for illuminating and controlling LEDs.
First things first – As with previous tutorials, we cannot stress enough that you must not connect an LED directly to the Uno. A resistor must be used to avoid damaging the LED and more importantly, your Arduino!
For this tutorial, you will need the following:
- 1 x Breadboard
- 1 x 220ohm Resistor
- 1 x LED
- 2 x Jumper Wires (We use red and black, as they’re the most logical, but any colour will do).
- Your Arduino
At this point, your Uno should be unplugged from the USB cable so that it is powered down.
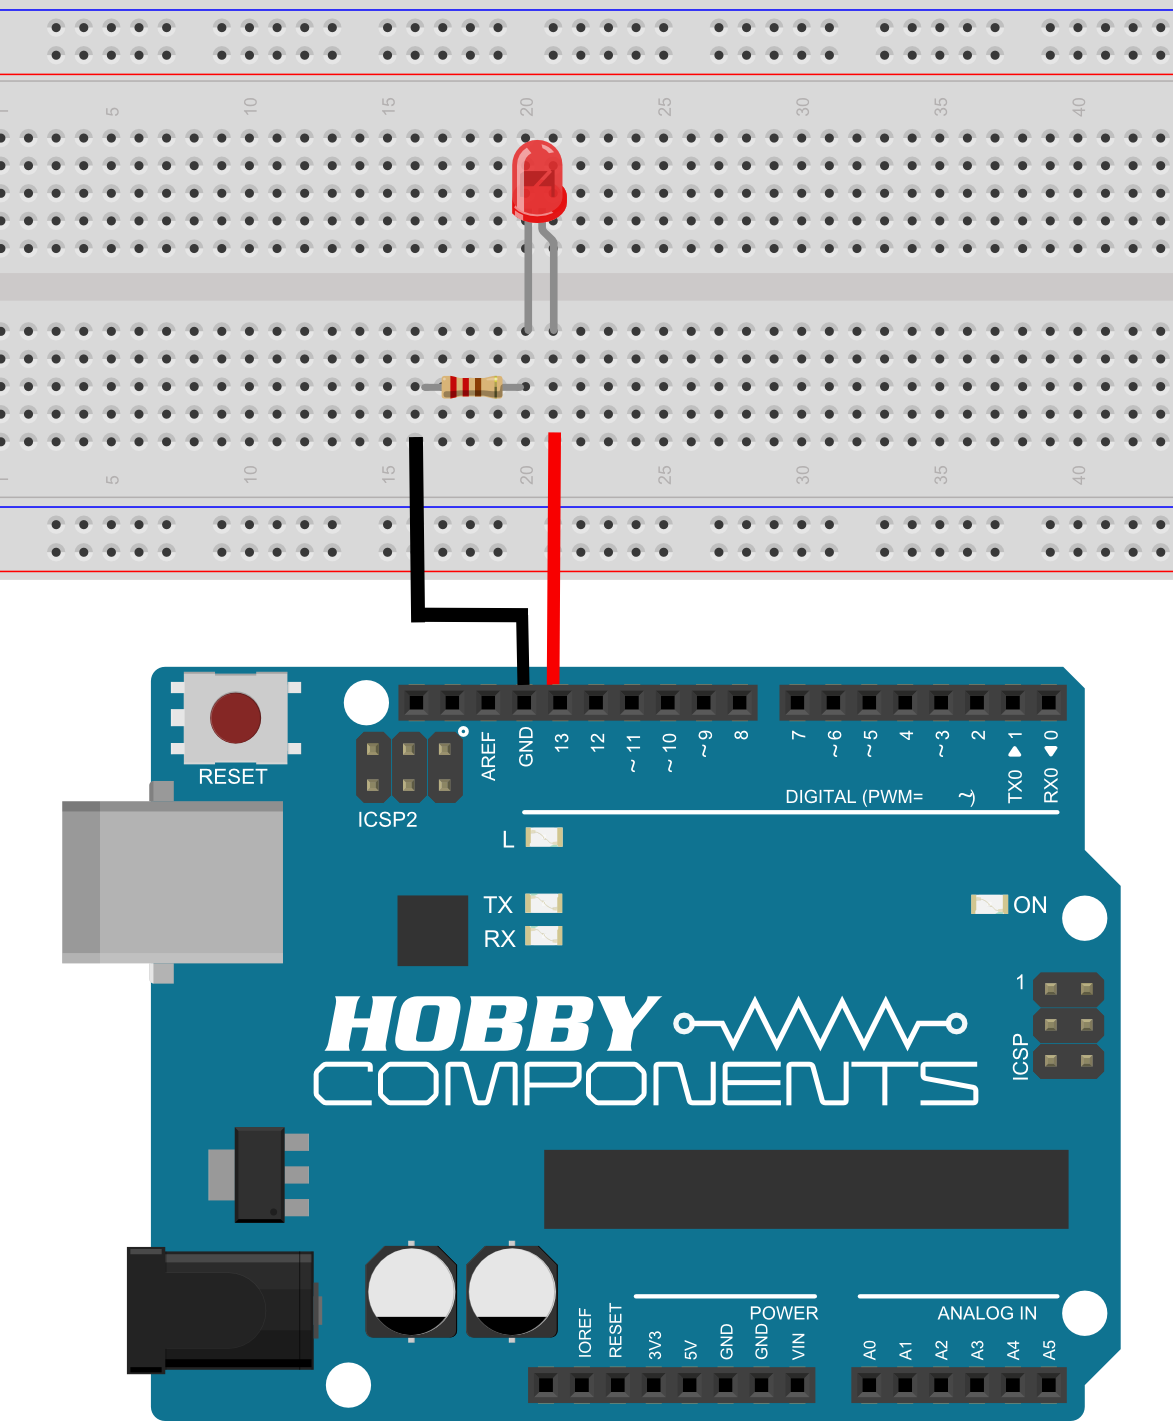
Step One: Insert the LED and resistor into your breadboard as shown in the above diagram.
It doesn’t matter which way round you insert the resistor, but you will need to make sure that the short leg of your LED is orientated so that the short leg is closest to the resistor.
Step Two: Connect one end of the red jumper wire to the arduino header marked with the number 13. This is one of the Uno’s digital pins, which can be controlled by a program (often referred to as a sketch), which is run by the Uno.
Step Three: Connect the other end of the red jumper wire to one of the holes that is in the same column as the long leg of the LED.
Step Four: Connect one end of the black jumper wire to any of the header pins of your Uno marked “GNDâ€. GND is short for ground and means 0V.
Step Five: Connect the other end of the black wire to one of the breadboard holes that is in the same column of the resistor leg that is furthest away from the LED.
Step Six: Check all your connections and make sure they look exactly like they do in the example diagram. Once you are happy, you are now ready to connect your Uno to your computers USB port using the supplied USB cable.
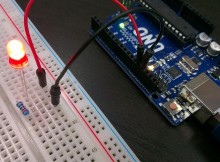
If you have correctly connected everything and you have successfully downloaded the example blink sketch described in the previous tutorial, you should now see the LED flash on and off at a rate of once per second. If you do not see the LED illuminate, disconnect your Uno immediately and check your connections. Be sure to check that you have the correct board and COM port selected in the Arduino software.
Modifying the blink sketch
If you still have the blink sketch open in your Arduino environment, find the following lines:
// Pin 13 has an LED connected on most Arduino boards
// give it a name:
int led = 13;
This line of code tells your Uno which pin your LED is connected to. Change this number from 13 to 10 and reprogram the uno in the same way you did previously.
Once the Arduino software has finished programming your Uno, you will notice that the LED will have stopped flashing. This is because we have now told the Uno that the LED is connected to pin 10. Unplug the end of the red wire that is currently inserted into the Uno header pin marked 13 and insert it into the pin marked 10. The LED should now start flashing again, and you have successfully modified your first Arduino sketch.
As a challenge, try to see if you can modify the sketch again, but this time try to make the LEDÂ flash quicker.
HINT: Look for the two delays.

![Simon Says… Wanna Play a [Arduino] Game!](https://blog.hobbycomponents.com/wp-content/uploads/2024/03/BLOG-IMAGE-Simon-Says-150x150.png)

