Back in 2015 we wrote an install guide for the Arduino IDE, as there are no current plans for new versions of Windows to be released, we decided now would be a good time to update that guide.
The first step is to download a copy of the Arduino development environment. This can be downloaded from the Official Arduino website here: https://www.arduino.cc/en/Main/Software
Download the version of software appropriate to your operating system. For this tutorial, we will be downloading and installing version 1.8.11 on a computer running Windows 10.
Once downloaded, locate the file on your computer and double-click it. You may receive the following security request from windows: “Do you want the following file to make changes to this computer?” – Click yes to proceed.
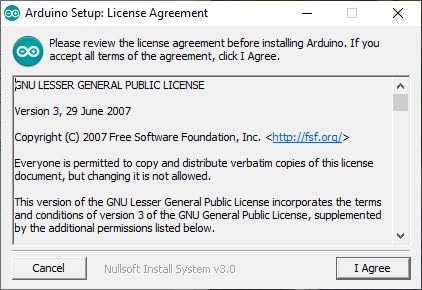
Arduino License agreement window will open. Click “I Agree”.
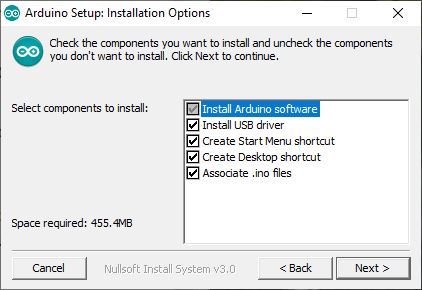
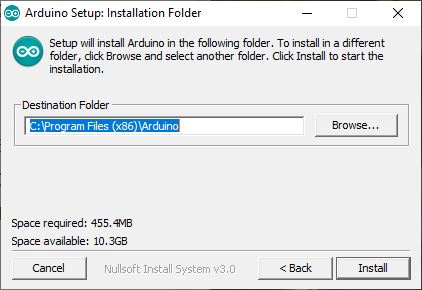
The next window allows you to set where you want the install files to be saved. Again, leave this as it is an click “Install”.
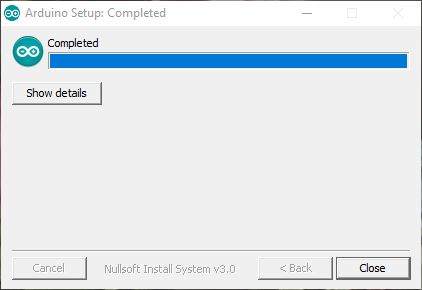
That’s it! You’re now ready to test the installation.
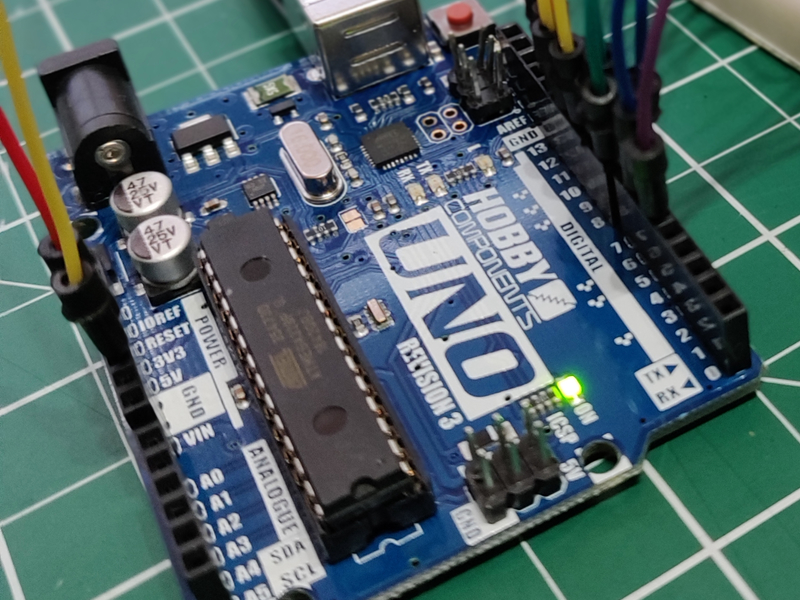
Plugging in your Uno for the first time
As it’s the most commonly used board for first-time users, we’re commencing the installation guide with the use of an Uno development board. Plug your Uno into the computers USB port with the supplied cable.
You will hear Windows acknowledge that you’ve plugged in a device.

From the start menu, open up the Arduino IDE “Start” → “Arduino”. You will be greeted with the splash-screen as the software initialises.
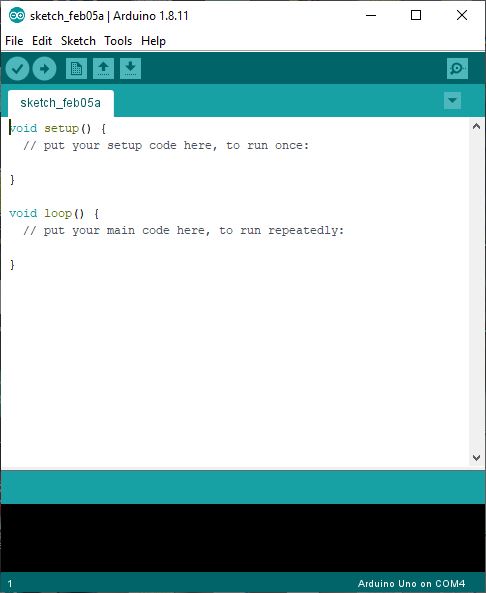
Once fully initialised, the Window above will be displayed. If the software and Uno are installed correctly, the board type and COM port will be listed in the bottom right corner (ours is Arduino Uno on COM4 as shown in the image above).
If there was an issue and Windows wasn’t automatically able to set the board type you’ll need to do this manually.
- To set the board type: go to “Tools” → “Board” → “Uno”.
- To set the COM port: go to “Tools” → “Port” → “COM *”. (* being the COM port number).
If the serial port options are greyed out, there may have been an issue installing the uno drivers. In this case, unplug your uno and plug it back in.
Time to test your Setup
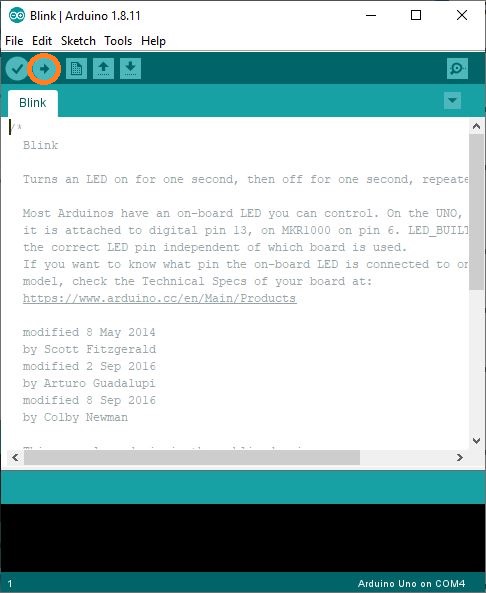
Now let’s do a quick test to see that everything is working OK. In thr Arduino IDE, go to “File” → “Examples” → “Basics” → “Blink”.

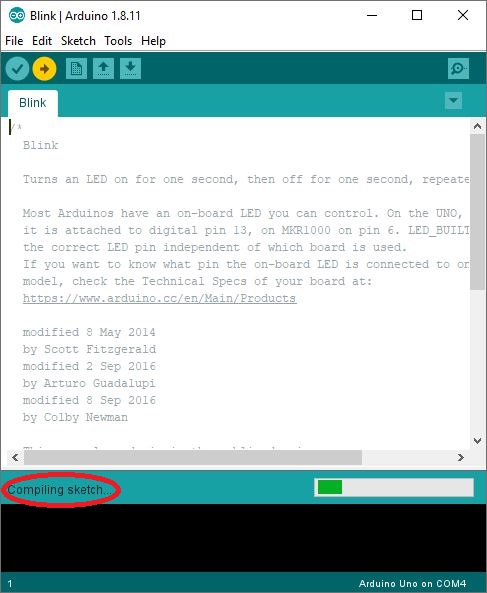
And that’s it. Your uno should be flashing the LED attached to PIN 13 at a rate of once per second. Check this by changing the delay values to 500 instead of 1000 and uploading again. The LED will now blink at twice the speed (once every half second).
We stock a huge range of sensors, wires, breadboards etc suitable for Arduino which are all available on our website so please be sure to check out our ranges. If you’re brand new to Arduino, you may want to check out the kits we offer.