


Simple tutorial for installing the Arduino environment in Windows.
The Arduino environment is easy to install and test. In this tutorial, we will install the Arduino environment. This is a simple process, which is made easier using the images supplied. Here we go!
First of all you will need to download a copy of the Arduino development environment, which includes drivers for your Uno. This can be downloaded from the Official Arduino website at the following location: http://arduino.cc/en/Main/Software
Download the version of software appropriate to your operating system. For this tutorial, we will be downloading and installing version 1.0.6. on a computer running Windows 7.
Once downloaded, locate the file on your computer and double-click it. You may receive the following security request from Windows “Do you want the following file to make changes to this computer?†– Click yes to proceed.
You will be prompted to agree to the Arduino license agreement:
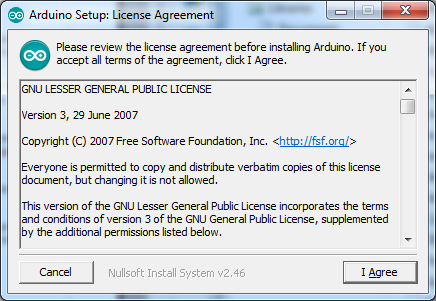
Click “I Agreeâ€.
Next, you’re given a window for selecting installation options. For the sake of this tutorial, you can leave all boxes checked as below:

Click “Nextâ€.
The window that follows is to select where you would like to install the software. Again, for this tutorial, we suggest you make no changes:
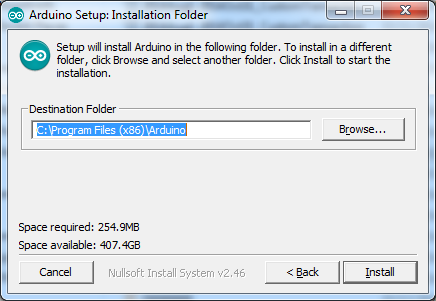
Click “Installâ€.
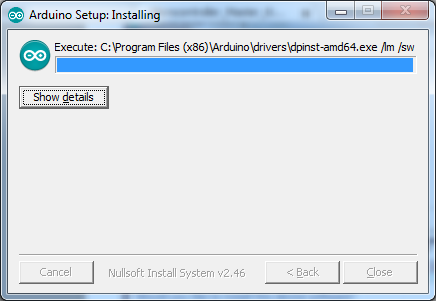
Once clicked, the time it takes to install will depend on the speed of your computer.
At this point you may get another Windows security request like the one shown below:
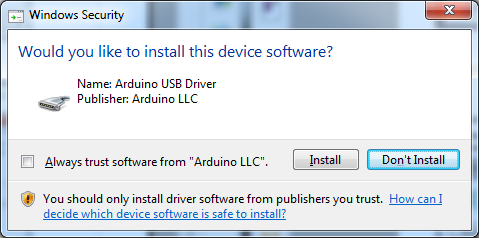
You can go ahead and click “Installâ€. This will cause the installation to continue where it left off:
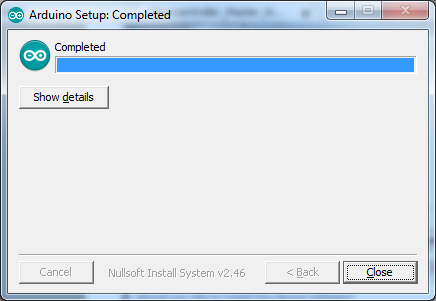
Once complete, the window will change to the following, and you can click “Closeâ€:
The Arduino software should now be installed on your computer. The next step is to test that all is fine with the install!
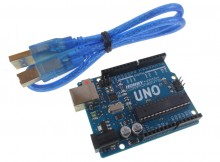
Plugging in your Uno
We are now at the point where the Uno board (or compatible board like this one) will be plugged in for the first time. Plug your Uno into the computer’s USB port with the supplied cable. You will hear the standard “Dong†as windows becomes aware of a new device. Wait a few moments for windows to tell you the device is installed and ready to use.
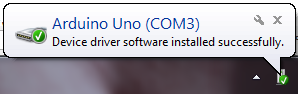
If you have correctly installed the Arduino software using the above steps, the drivers for your uno should install automatically when the device is plugged in.
If windows does not find any drivers for your uno, the following window should appear:
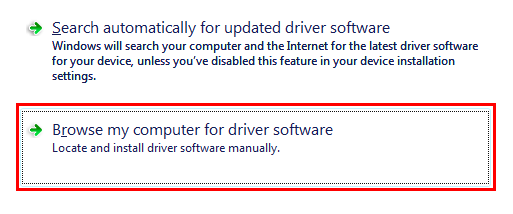
Click “Browse my computer for driver softwareâ€, browse to the following path: C:\arduino-1.0.4\drivers and click ok.
Using the Arduino Software
The first thing we will check is that the software runs, and that it sees a COM port.
Open up the Arduino programme from the start menu in Windows. Again, depending on the speed of your computers processor, you may see the splash screen for a few seconds, or a minute or two. The splash screen looks like this:

Once this closes, the program loads and you will see the following window:
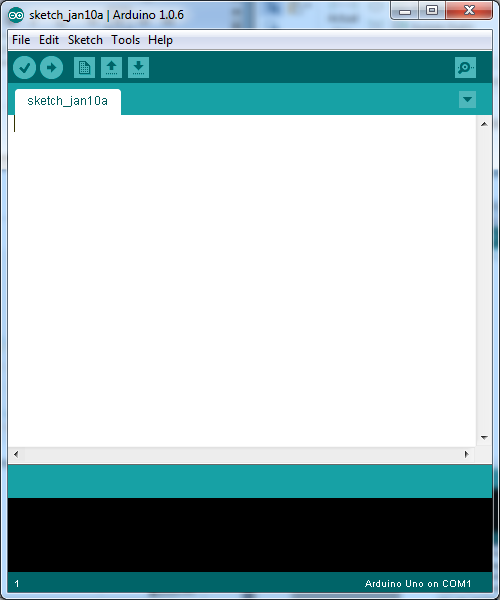
If the software has assigned a COM port, it will be listed in the bottom right hand corner of the window. If nothing is showing, click “Tools†in the menu at the top of the window and scroll down to “Serial Port†and check if a COM port is showing. If the serial port menu option is greyed out, this means that the drivers for your uno have not installed correctly. If this is the case, try unplugging your uno and then plugging it back in.
In order to test the software with your Uno, we recommend you now move onto our tutorial on Testing the Blink Application.


3 thoughts on “Arduino: Installing the Arduino Environment in Windows”